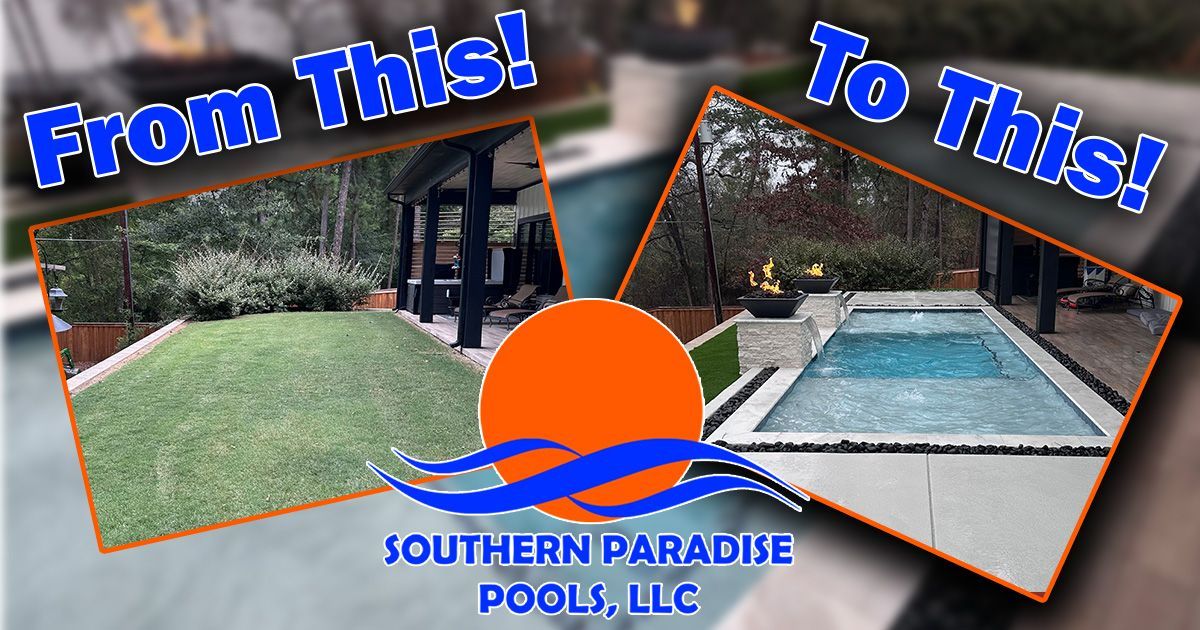
You're gonna love this remodel!
Customer Pool Remodel
Coping, Tile and new plaster
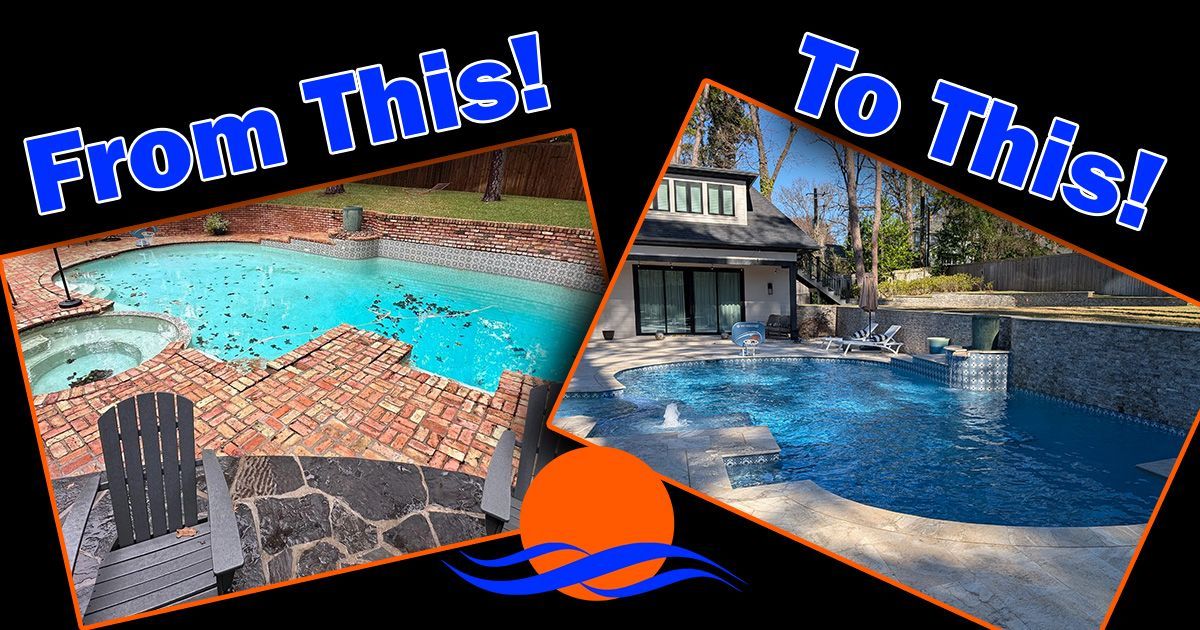
At first glance, the pool still functions, but once you get closer, you can really see the age showing. The plaster is worn and discolored, especially on the tanning ledge and shallow areas. There are visible stains, uneven coloration, and surface wear that comes from years of use. The tile line is dated, and the coping has started to show its age as well, both visually and structurally.
This is the kind of project where nothing is necessarily “failed,” but everything is ready to be brought up to a modern standard.
Before/After


Stairs


Bench


Step one:
Identify the work to be done
The customer wanted to remove all of the existing flagstone coping and wall coverings around the pool. Over time, flagstone can begin to chip, crack, and flake due to age, exposure to pool chemicals, changing weather conditions, and everyday use. These loose pieces can fall into the pool, potentially causing stains, placing additional stress on the pool system, and creating an uncomfortable or unsafe surface for swimmers to walk on.
You can also see that the existing plaster had become stained and discolored, giving the pool an aged appearance. As part of the renovation, the customer also chose to replace the outdated brown tile to give the pool a cleaner and more modern look.


Step Two:
Drain the pool and remove the existing coping, tile, and damaged plaster.
Once the pool was fully drained, our team began carefully removing the old coping, waterline tile, and the top portion of the plaster around the perimeter of the pool. Removing the upper section of plaster helps create a clean and secure surface for the new materials to properly bond to during installation.
At this stage of the renovation, the pool begins to reveal the underlying structure and condition beneath the old finishes. This process also allows us to inspect for hidden issues that may have developed over time, helping ensure the new tile, coping, and plaster are installed on a solid foundation built to last.


Step Three:
Install the new finishes and bring the pool back to life.
With the old materials removed and the surface properly prepared, it was time to completely transform the look of the pool. The customer chose beautiful new travertine coping to replace the aging flagstone, giving the pool a cleaner and more modern appearance while also providing a durable surface designed to hold up well over time.
To enhance the raised wall and create more visual texture, we installed split face stone across the entire feature wall area. The combination of the natural stone textures, updated coping, and new waterline tile helped give the pool a much more refined and upscale look.
The pool was then finished with a rich blue plaster and matching blue waterline tile to brighten the water color and give the entire backyard a fresh, vibrant feel. The final result completely changed the appearance of the pool, creating a cleaner, brighter, and more inviting outdoor space for the homeowners to enjoy.


Share To...